Your Cart is Empty

Step 1: Fold your filter paper in half.
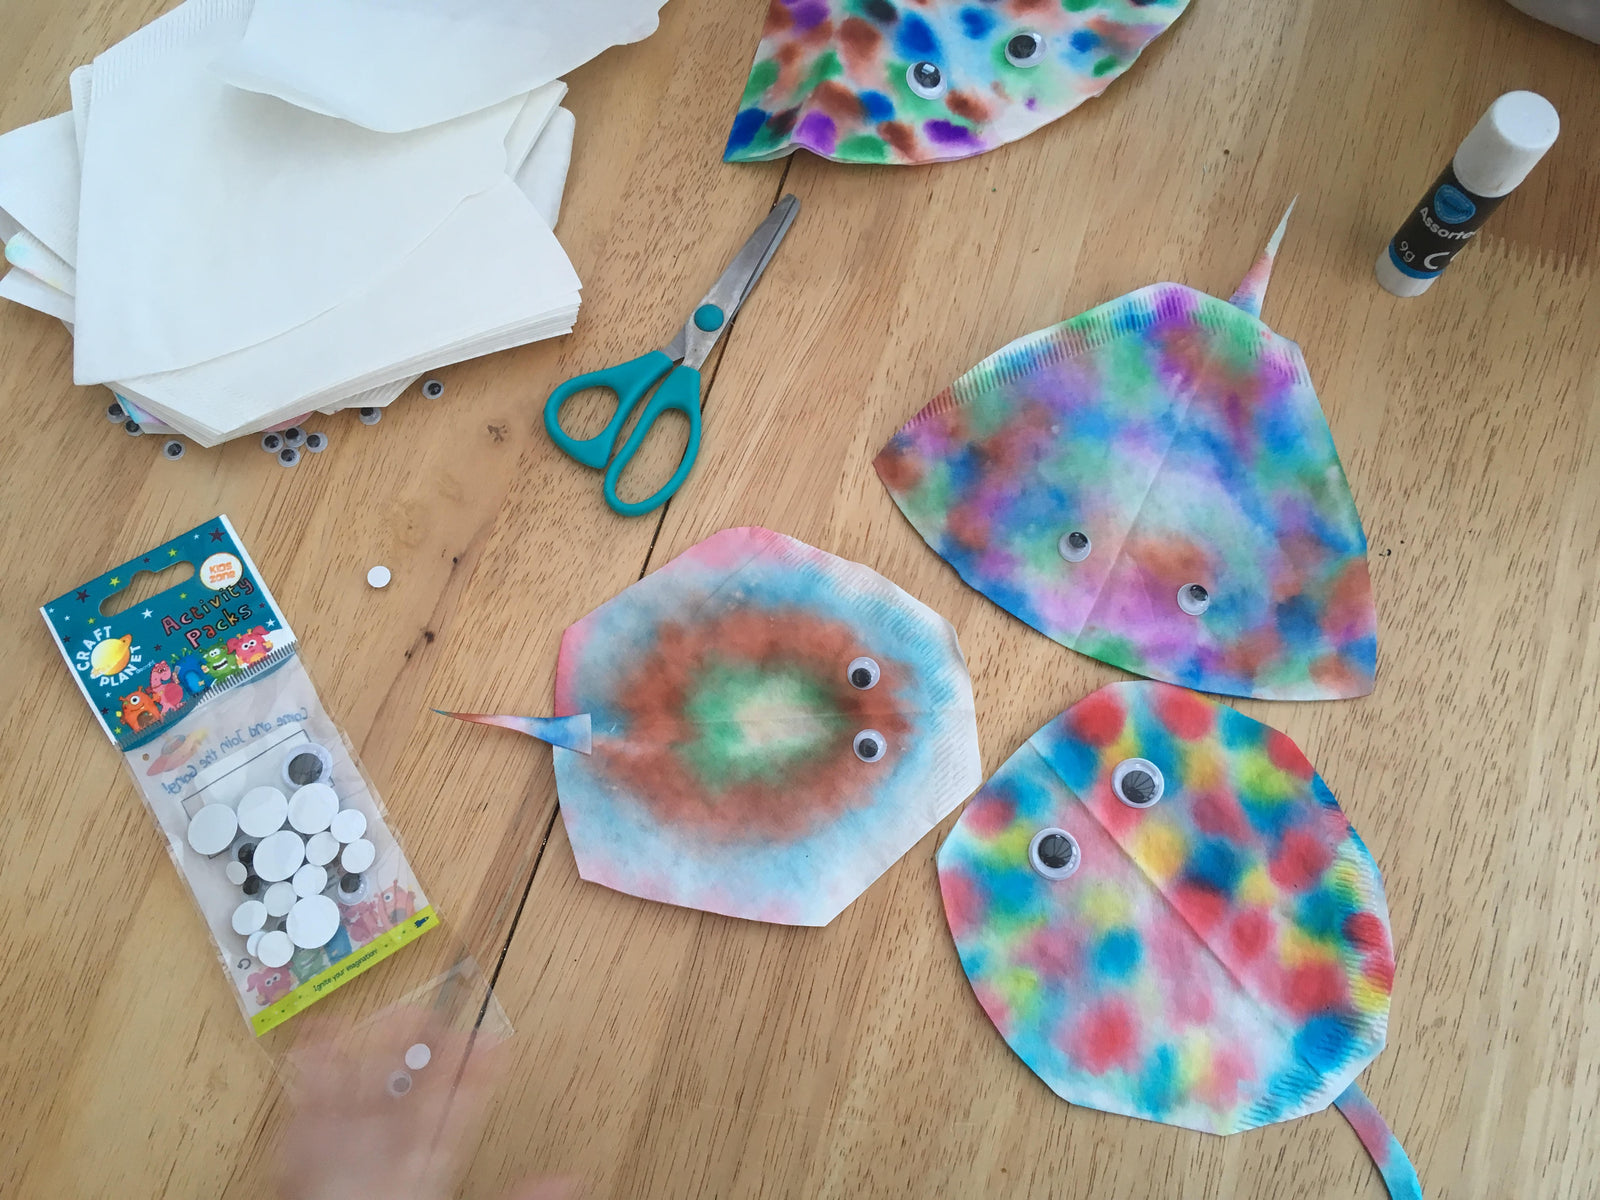
Step 2: Using different coloured dabbers or pens, colour in the filter paper. Have a go at adding spots and different patterns. Make sure you press down hard, so enough ink runs from your pen into the paper. Look closely at the filter paper – can you see how the ink is moving through it? This is called absorption. How cool!

Step 3: Spray your paper with water. Watch as all those dazzling colours swirl together.

Step 4: Gently push down with your finger to help the colours blend together.

Step 5: This is the hard bit – be patient! You need to wait for the paper to dry. Not doing so risks tearing it.
Step 6: Once dry, open up your stingray! Can you see how both sides are symmetrical? Using our silhouette templates in our free downloadable resource pack (https://www. ecokidsplanet.co.uk/pages/free-resources), decide what shape you want your ray to be.
Step 7: Using the templates as a guide, cut the edges of your filter paper to make the shape of the stingray. Save some of this scrap paper and cut the ray’s tail from it. Glue the tail to the underside of the ray.

Step 8: Add some googly eyes. All done! Have fun experimenting with lots of different colours!

💌Send a letterto:
Eco Kids Planet, 41 Claremont Road, Barnet, EN4 0HR
💻or emailus on:
hello@ecokidsplanet.co.uk
Comments will be approved before showing up.
What an incredible fleet of rockets you launched into our inbox this month! Each design showed a different way to turn everyday scraps into something extraordinary. Some rockets looked ready for deep-space exploration, others carried alien crews, and a few were so beautifully decorated they could ha...
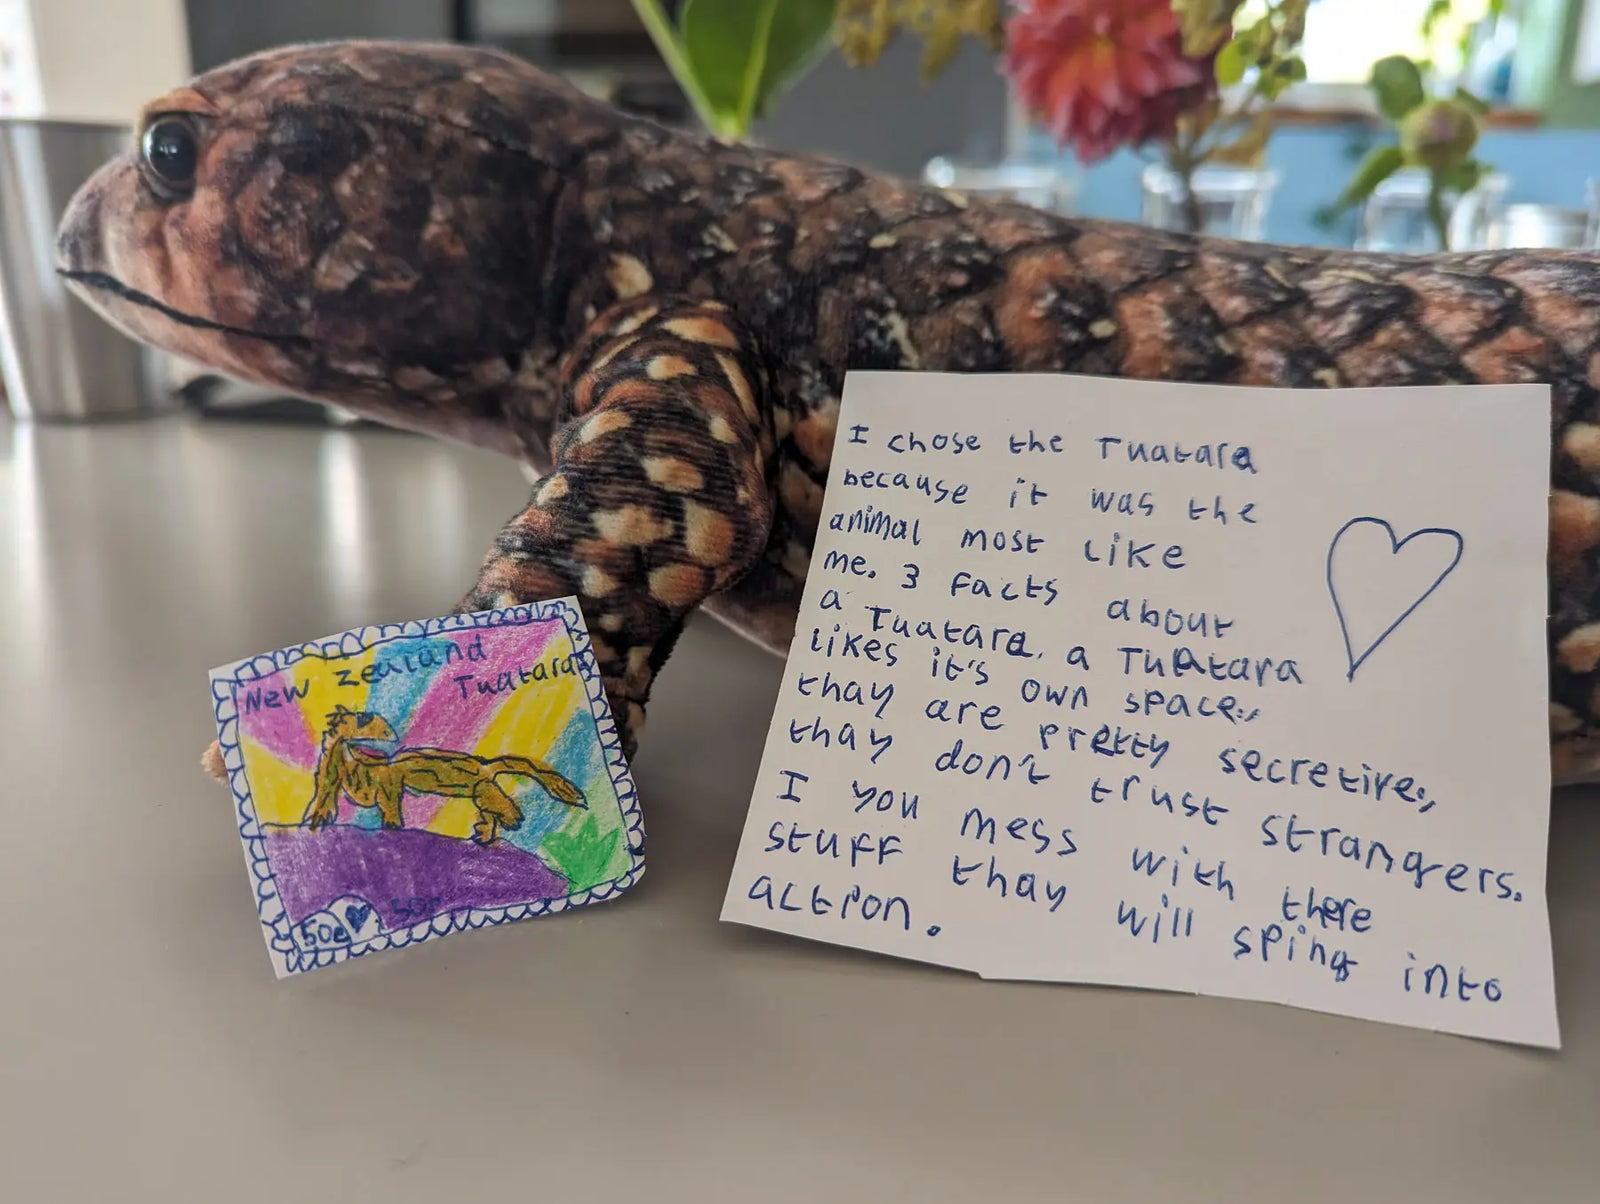
Meet the winners of our New Zealand postage stamp competition and explore a gallery of brilliant children’s designs celebrating Aotearoa’s unique wildlife.
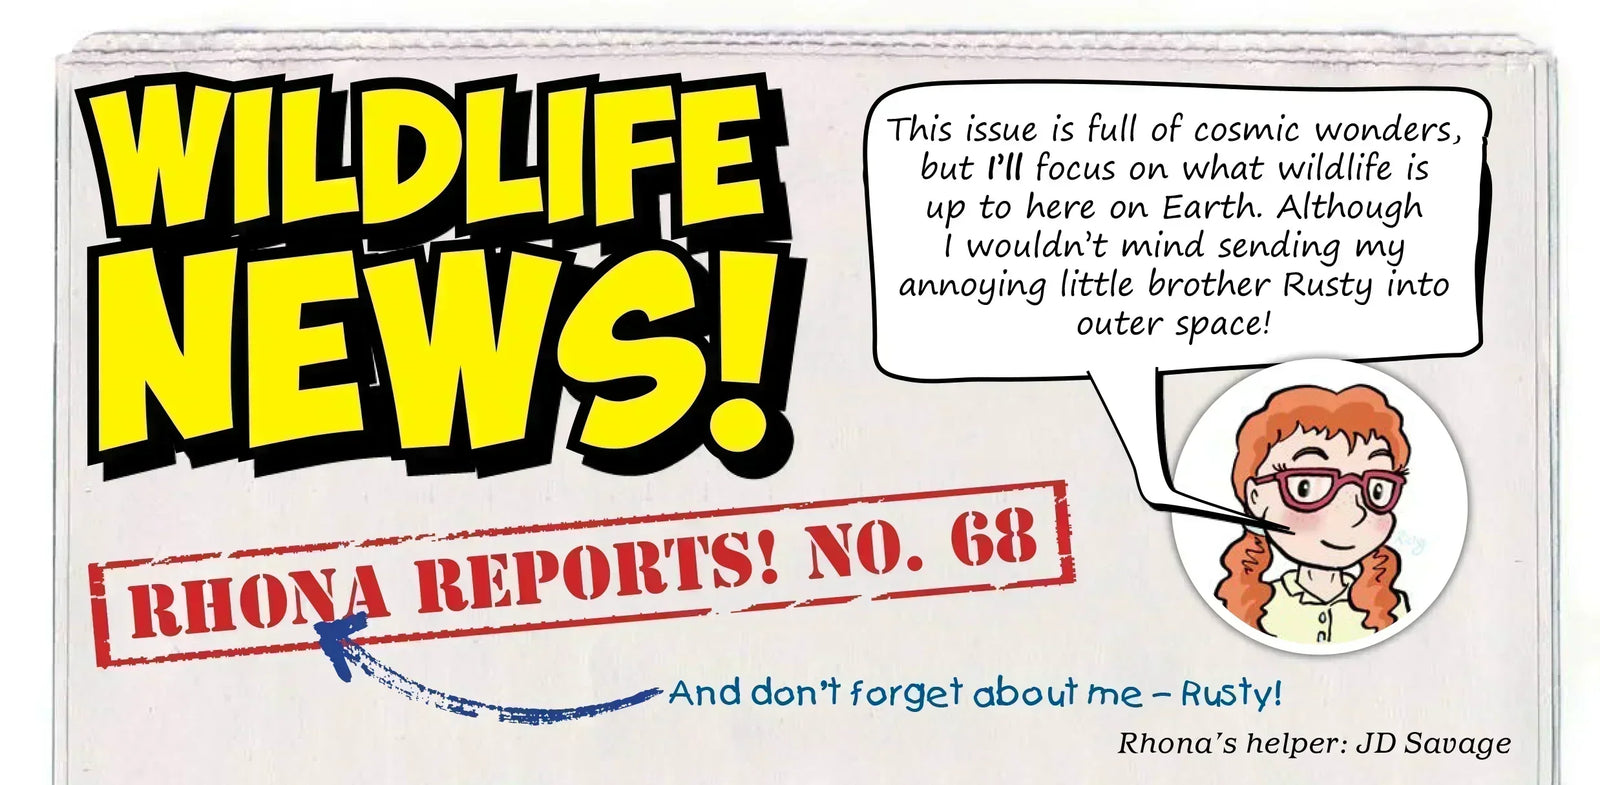
Here’s a sneak peek straight from our latest issue of Eco Kids Planet, Wonders Beyond Earth. Wildlife News is where Rhona and Rusty round up the wildest real-world stories from across the planet. Enjoy the read! 🌎 Amazing Photo Entries! The Wildlife Photographer of the Year team gave me a sneak...


