Your Cart is Empty

Small pine cones
Thin card (a flattened cereal box works well)
Paint in three shades of green
A paintbrush Red bells, beads or buttons
Green pipe cleaners
Ribbon or yarn for hanging
Strong glue, such as PVA
A small plate and cup
Sandpaper (optional)
Scissors
A sharp pencil
A small piece of Blu Tack
Sticky tape
1. Place a small plate on to a piece of card and draw around it to make a circle. Place a cup in the middle of the circle and draw around it. Cut the shapes out to make a ring.

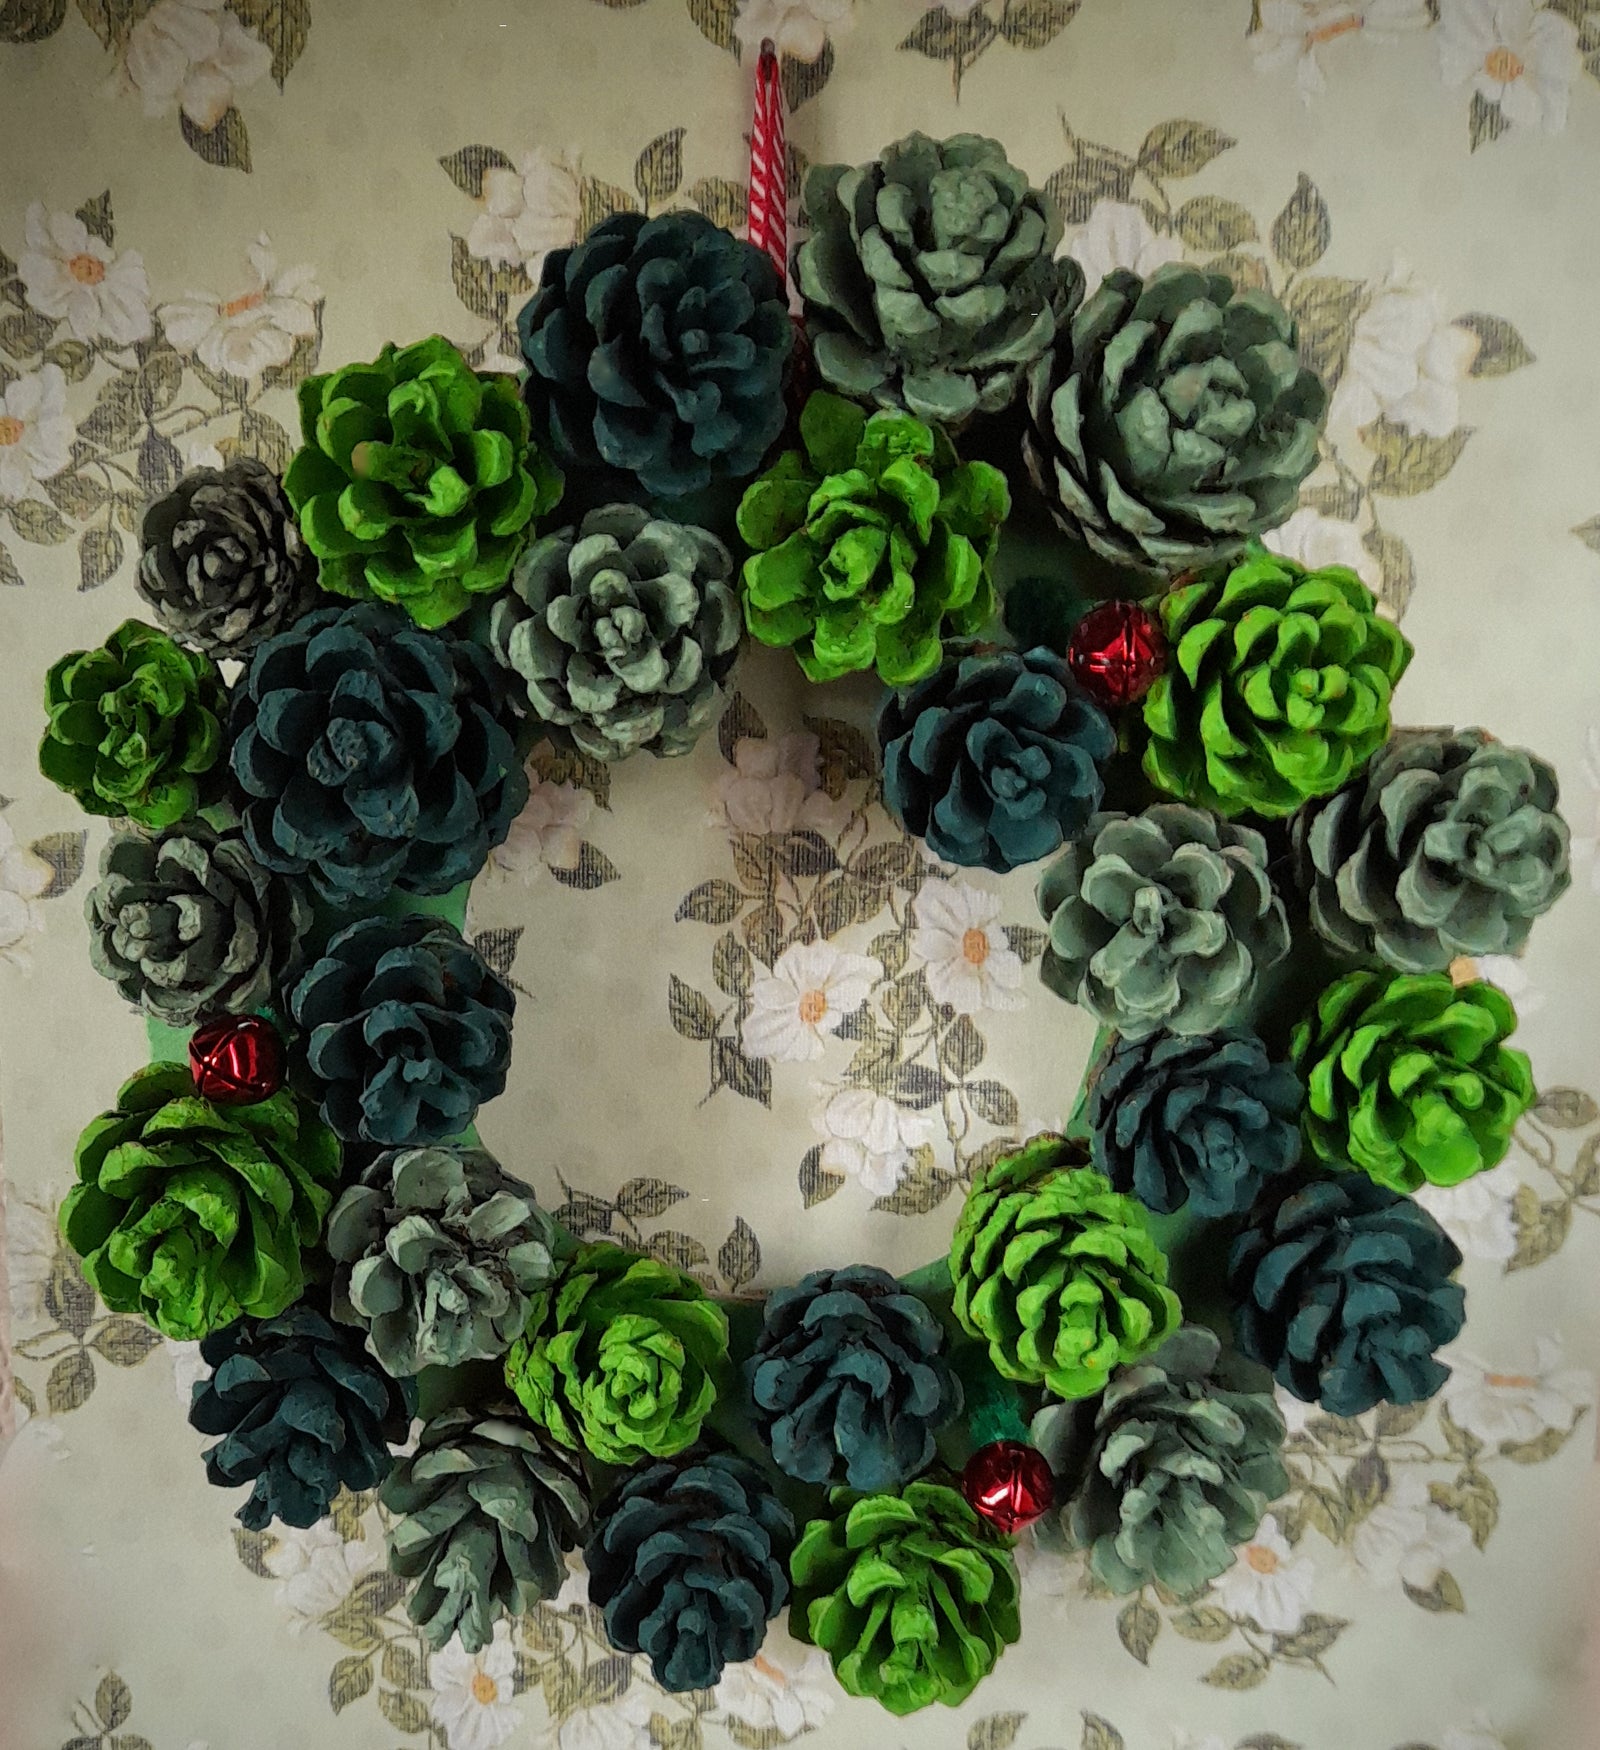
2. Find out how many pine cones you will need by placing them on the ring until it is covered. We used 28.

3. Help the pine cones to sit straight by snapping off the small stems underneath and, if you have some sandpaper, try sanding the bottom of each cone to make it flatter.

4. Divide your pine cones into three groups and paint each group a different shade of green. Paint the cardboard ring and leave everything to dry.

5. Coat the surface of the ring in a fairly thick layer of PVA glue. Place the pine cones next to each other on the gluey surface, as snugly as possible. Leave overnight to dry.

6. Thread a red bell, bead or button on to a pipe cleaner and twist the ends.

7. Find a space between the pine cones and make a small hole in the ring by pushing a sharp pencil through the cardboard into a piece of Blu Tack. Push the pipe cleaner through the hole, bend it over at the back and secure with some tape. We chose to have three bells but you can add as many as you like.
8. Finally, tie on a loop of festive ribbon so you can hang your wreath.
Comments will be approved before showing up.
A huge thank you to everyone who entered our Animals at Play eco-friendly Christmas decoration competition. We loved seeing how much creativity, care and imagination went into each entry. From natural materials gathered outdoors to clever reuse of everyday items, your decorations showed just how playful and planet-friendly festive crafting can be.
Thank you so much to everyone who entered our Autumn Nature Art competition. We loved seeing how you explored the outdoors, collected natural materials and turned them into thoughtful, creative artworks inspired by autumn.
What an incredible fleet of rockets you launched into our inbox this month! Each design showed a different way to turn everyday scraps into something extraordinary. Some rockets looked ready for deep-space exploration, others carried alien crews, and a few were so beautifully decorated they could ha...


